Quick tips how to organize photos and videos
 (SeaTrek Sailing Adventures)
This is a simple photography guide you can follow.
Once you have made all those beautiful photographs, what is the next step? Storing them in an organised and easily accessible way for future reference.
Pick a secure location for storage
It is important to store your images in a secure place. Where is the best place to store your photos and videos?
To be honest, you absolutely need to be store all of your media in one of two places, if not in both:
1) an external hard drive
If you’ve never used one before, please don’t be intimidated. They are actually easy and simple to use! An external hard drive is simply a portable storage device that can be attached to your computer for extra storage. You plug your hard drive in the computer and it should show up as a place where you can Save (try Save as to find it).
2) a cloud subscription online
Using a cloud-based subscription allows you the ability to store files remotely through a website’s online plan. This is actually the most secure way of storing your photos and videos since you don’t have to worry about anything physical being damaged or worn out over time. External hard drives fail from time to time (although rare). In addition, storing in the cloud means your pictures do not take up any storage space on your laptop when travelling.
These are some examples of places to use as cloud storage:
- I drive
- UpCloud
- Dropbox
- Google Drive
- OneDrive
- Google photo
How to organise your Images?
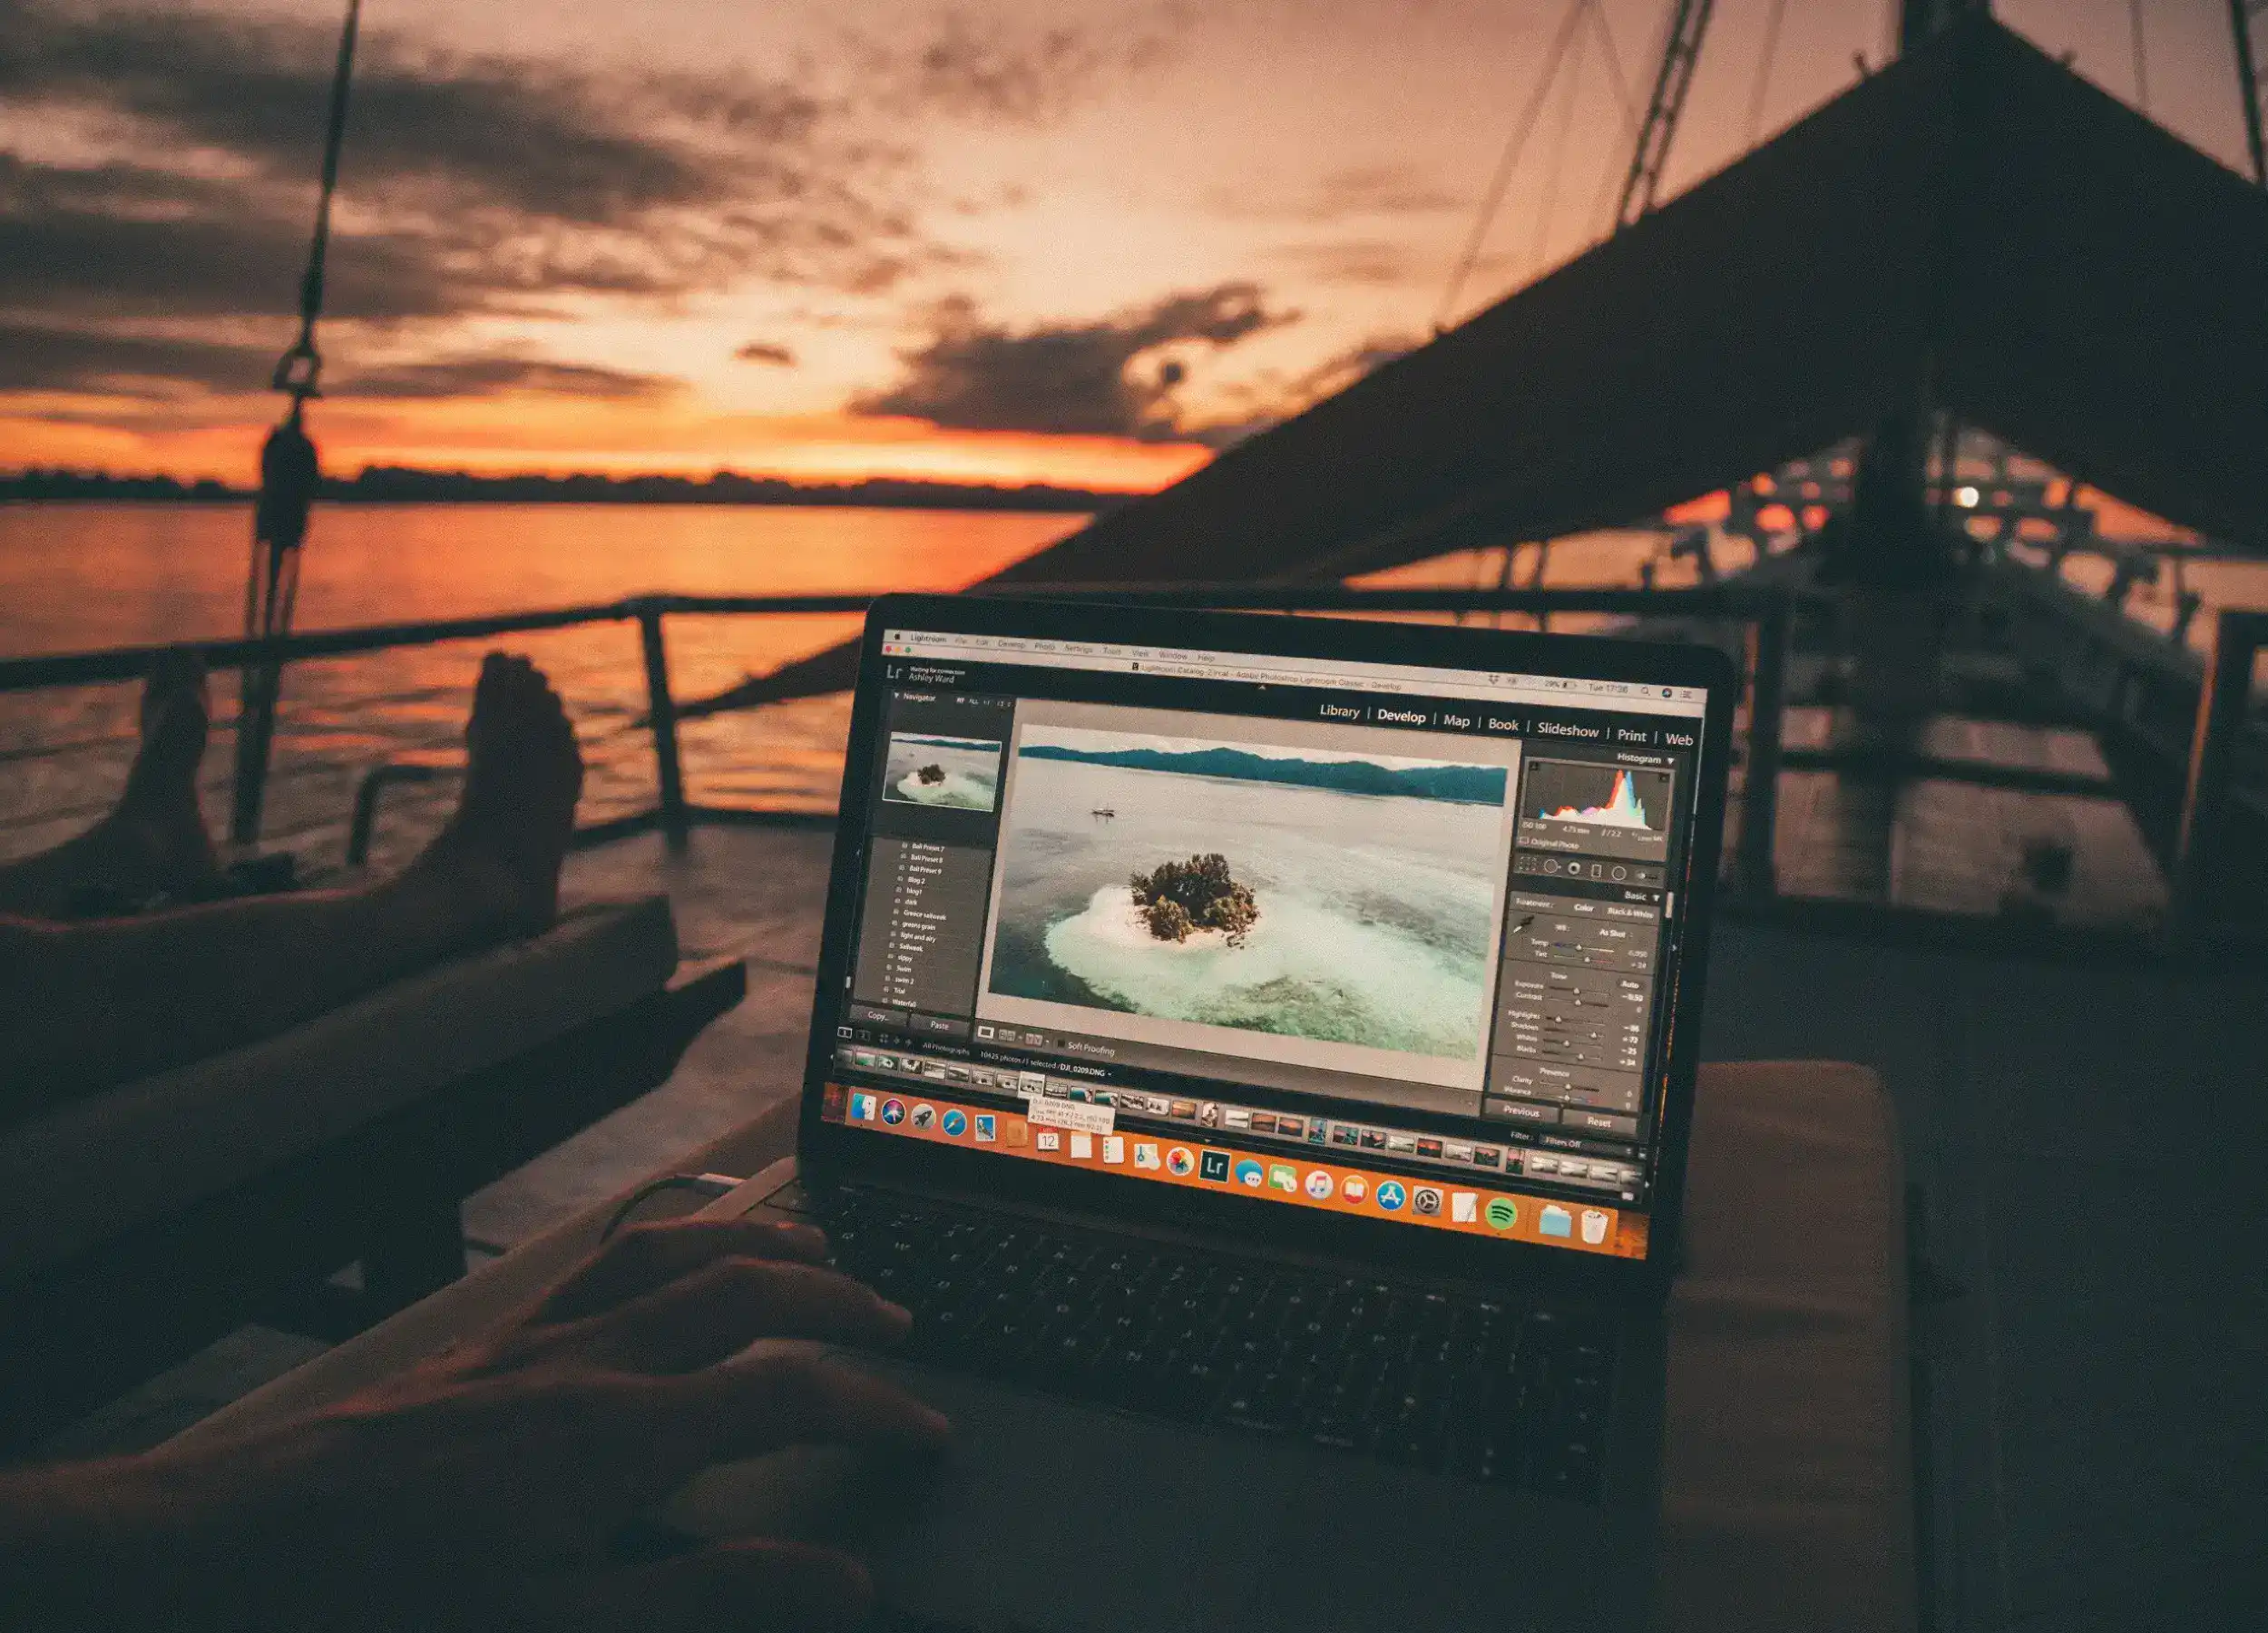
How to organize photos and videos while sailing with SeaTrek. (Ashley Ward/SeaTrek Sailing Adventures)
The best place to start when it comes to organizing your photos is to take 15 minutes, grab a sheet of paper and a pen or pencil jot down all the types of pictures you need to organize.
For example:
- RAW images
- Blog images
- Album images
- Social Media Images
- Images for your portfolio or website
- Images that you take on your phone
- Images that might come from other people that you might use for something (social media)
- Personal images
Album images could be sorted by day or possibly per theme, for example, grouping Underwater photo’s together. A tip of ours is to copy-paste (so not cut-paste) your favourites pictures of each day in the same folder labelled ‘Best pictures’ or ‘Favourite photo’s’. This way, once you are home and normal life begins, you can easily access this folder to see all the highlights of your recent travels.
Location
As a final step, you need to determine, where you want to access your photo’s from. In other words, where will you be when you need to access a certain photo from one of the categories above? For example, if you like to show a series of images on your social media over a number of days, you could put them in cloud storage in a folder labelled with the name of your trip or of the specific social media. You can add comments, for example, which day you would like to post that particular photo. You may do the organising on a bigger screen, such as a laptop or tablet. Once your (edited) photos are in the correct location, you can easily post from your phone, where you can install the same application of the cloud storage you are using.
Other options are:
- Your main computer or desktop hard drive
- External hard drive
- Laptop
- Phone
- iPad

 (SeaTrek Sailing Adventures)